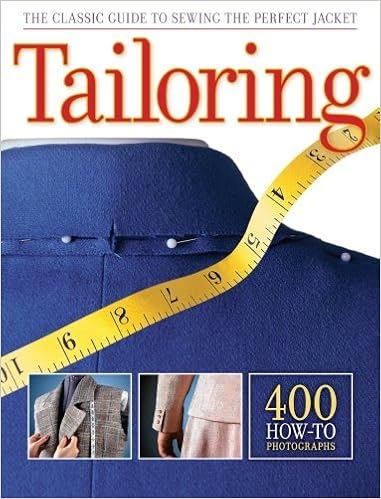
Tailoring: The Classic Guide to Sewing the Perfect Jacket
Language: English
Pages: 128
ISBN: 1589236092
Format: PDF / Kindle (mobi) / ePub

Audrey and Givenchy: A Fashion Love Affair
Style Statement: Live by Your Own Design
fullest part of the bust. Shoulder seams lie straight on top of shoulders; don’t pull toward front or back. Set-in sleeves are smooth and pucker-free with softly rounded caps. There are no diagonal wrinkles in sleeve cap, and sleeve does not pull across upper arm. Sleeves cover wristbone by 1/2 to 1″ (1.3 to 2.5 cm). Collar hugs back neckline without gaping or wrinkling across the back. Lapels hug the bustline without gaping when garment is buttoned. Back vent hangs straight and
and 92); do not baste welts together. Slip flap into welt opening. 5 Pin flap, aligning flap seamline with welt opening (arrow); baste. Complete pocket (page 93). How to Add a Pocket to Jacket Lining 1 Add one or more welt pockets to right lining front. Determine desired position and size; mark placement. 2 Sew single or double welt pocket (pages 90 to 94). TAILORING SLEEVES A smooth sleeve with a softly rounded cap is a true mark of an expertly tailored jacket or coat.
draw up stitching and adjust ease so hem edge lies loosely against garment. Tuck paper strips under hem allowance; steam hem edge lightly to shrink out fullness. 3 Place a pin in the hem allowance 1″ (2.5 cm) inside the raw edge of the front facing. 4 Trim facing hem allowance 1/2″ (1.3 cm) below hemline. Trim garment 3/4″ (2 cm) below hemline from facing seamline to pin in hem allowance. Clip and press seam toward facing in hem allowance. 5 Cut hair canvas strips, opposite. Pin in
14 sequence for tailoring, 64 shoulder pads, 26, 99 stays for 55, 57 Rayon, blends for linings, 24 hair canvas, 20 Reinforcement, shoulder, see: shoulder reinforcement Roll line, collar and lapel seam allowances, 82 crisp, 73 custom taping, 12, 71 lapel, 50-51 machine taping, 12-13, 72 padstitching, 43 shaping jacket front, 68-73 soft, 73 steaming, 71, 73 test garment, 50-51 topstitching, 115 undercollar shaping, 65-67 Rotary cutter and mat, 31 Ruler, see-through, 31, 43 S
be assembled correctly and to fit well. Plan enough time to cut and mark all fabrics for the garment before storing the project. Moving and folding cut pieces, then marking later, is inaccurate because the pattern tissue shifts; folds in the tissue and fabric pieces result in distorted markings. A large cutting surface makes cutting easier and more accurate, prevents fabrics from sliding and pulling out of shape, and doubles as a large pressing surface. To make your own cutting surface, pad a