Chic on a Shoestring: Simple to Sew Vintage-Style Accessories
Mary Jane Baxter
Language: English
Pages: 160
ISBN: 0399159592
Format: PDF / Kindle (mobi) / ePub
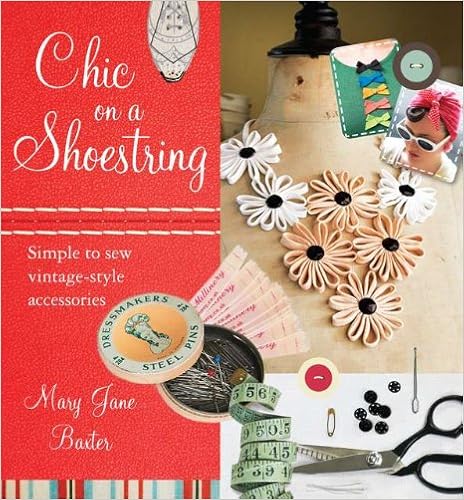
Chic on a Shoestring is your entrée into the world of high fashion that will inspire you to create your own covetable clothes and accessories. Learn to transform ornate trims and vintage buttons into spectacular brooches, craft a favorite silk scarf into a chic top, or rework flea market shoes into fashionable showstoppers.
With more than 40 unique and stylish ideas—including quick and easy no-sew projects—Chic on a Shoestring will inspire first-time and experienced crafters alike.

New York Fashion Week: The Designers, the Models, the Fashions of the Bryant Park Era
Body Dressing (Dress, Body, Culture)
the frill. So, with right sides together, fold one teatowel in half lengthwise and cut across the length 5 in from the finished edges. You’ll then have two strips each 5 in wide and the same length as the tea-towel. Now, keeping the right sides of the fabric facing, make one long strip by machine or hand-sewing one of the 5 in sides together, leaving a 3⁄8 in seam allowance (1). Using an iron, press this strip flat and then thread your needle with a long double thread, knotted at the end.
the colors, you’ll get different results each time. What’s more, the only sewing involved is stitching the fabric to the chain at the end. Easy! Once you’ve prepared your fabric, you can make this necklace in an hour or so. Prepare the fabric strips The fabric strips used in this project are made from torn strips of printed cotton fabric and cut strips of cotton T-shirt fabric. This is to help create lots of contrasting textures. To prepare the torn strips: take the printed cotton fabric and
the two sides meet (7). Sew a small button or sequin to the center (8). If you want to make a brooch, then sew on a brooch back to the reverse side now (9). To make a necklace, create more flowers in the same way. Join together where the petals touch by stitching through them using no knot on the thread (10). Tie off the ends of the thread by hand (11) and cut the thread off very close to the flower (12). Sew a length of ribbon (or half a shoelace) to the middle of the two outside flowers on
with a little brush in the lid). Tear Mender works best in this project when you put a thinnish layer on both sides of whatever it is you’re gluing. Allow it to go a little tacky before pressing and holding in place. Set aside a good couple of hours to make this stunning little hat, and don’t rush it. You might find it a little fussy if you’re new to hat-making, but it’s worth doing this well. You can decorate your hat with something ready-made, or try one of the other trims in the book.
3⁄8 in long. bend the ends to Hook them to your veiling as little “dots” and squeeze into place. You can match the color of the spots to your outfit. Always sew veiling on, never try to stick it down. Cut two strips of cardboard. One should be 16 × 11⁄2 in, and the other 16 × 11⁄4 in. If you’re using a cereal box (1), run the strips through your fingers to soften any folds in the cardboard. Glue the card strips to the back of the fabric leaving 5⁄8 in of fabric spare on each long side. Cut